I finally gave in and bought a carbonator after about a month of quar. Celeste took over grocery runs, switched to going once a week, and in the weight tradeoff between “beer” and “fizzy water,” beer won out.
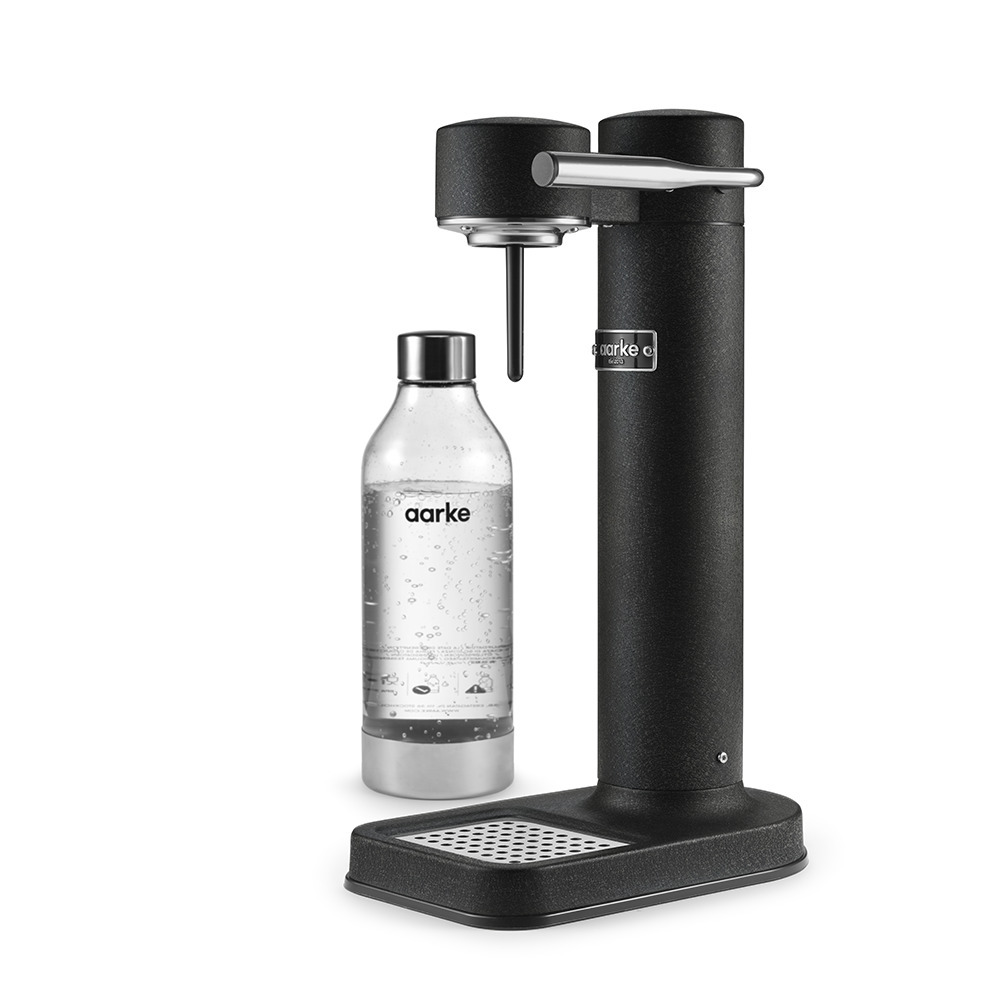
I chose this Aarke unit, mostly because every SodaStream I’ve ever seen made unsettling plastic creaking noises during operation, and the idea of a face-full of brittle polycarbonate housing has never excited me. The Aarke unit is also plastic (mostly), but it looks a lot nicer, and most of the plastic is hidden inside (and doesn’t move and creak like it does on the SodaStream.)
It worked very smoothly for two weeks, at which point it started hissing during and after carbonation (rather than only when the handle was lifted to release the excess pressure), and I wasn’t able to get a good charge out of it anymore. I removed the gas canister, checked the seal, and re-installed it, which fixed the issue for a day. I also tried a second gas canister to see if the problem was with the mating surfaces on the first (which were a little chewed up—the bottles can be refilled and mine had definitely been through it), but that didn’t change the behavior.
I figured I could get in touch with the manufacturer, but figured that they’d ask me to ship the machine back to get a replacement. I wasn’t super interested in going and milling around the post office with thirty other people, but shot them a note anyway. They asked for some information about the carbonator (serial number) and a video of the problem. Their support team is located in Sweden (GMT+2), so each back-and-forth took a full day. While I was waiting, I decided to have a go at fixing the carbonator myself.
First off, a word about safety. Pressurized gas can be dangerous! Although the canisters are built quite strong, at room temperature, a canister is pressurized to something around 2500 PSI. I removed the canister from my unit and pressed the lever down to release any pressure that may have remained before I started unscrewing anything. However, testing the device after reassembly is a bit like reconnecting an electrical appliance back to mains power after a fix—if you’ve accidentally broken or dislodged an internal component, you could end up releasing gas (and flying parts or shrapnel) as soon as you screw the gas canister back into the unit. Use common sense, wear eye protection, and keep pets away. If you’re unsure, don’t disassemble the unit at all! Get in touch with Aarke—they were wonderful and offered to replace my unit at no cost to me.
Here’s the email I sent them describing what I think was the failure—who knows if anyone will ever read it!
I have disassembled the machine in order to diagnose the failure. I hope that you will share this information and photos with your product or engineering teams to help make the product better and more reliable. I have used my own names for the parts based on what I believe their function to be. If you have a parts diagram or “parts explosion” you can share, I can identify the parts by their correct name.
Otherwise, I will recycle the broken one when I receive the replacement.
I disassembled the carbonator after removing the CO2 bottle and ensuring any remaining gas was released.
When opening the cavity on top the CO2 cartridge (with the lever attached), I found a small piece of plastic or rubber o-ring loose in the cavity:
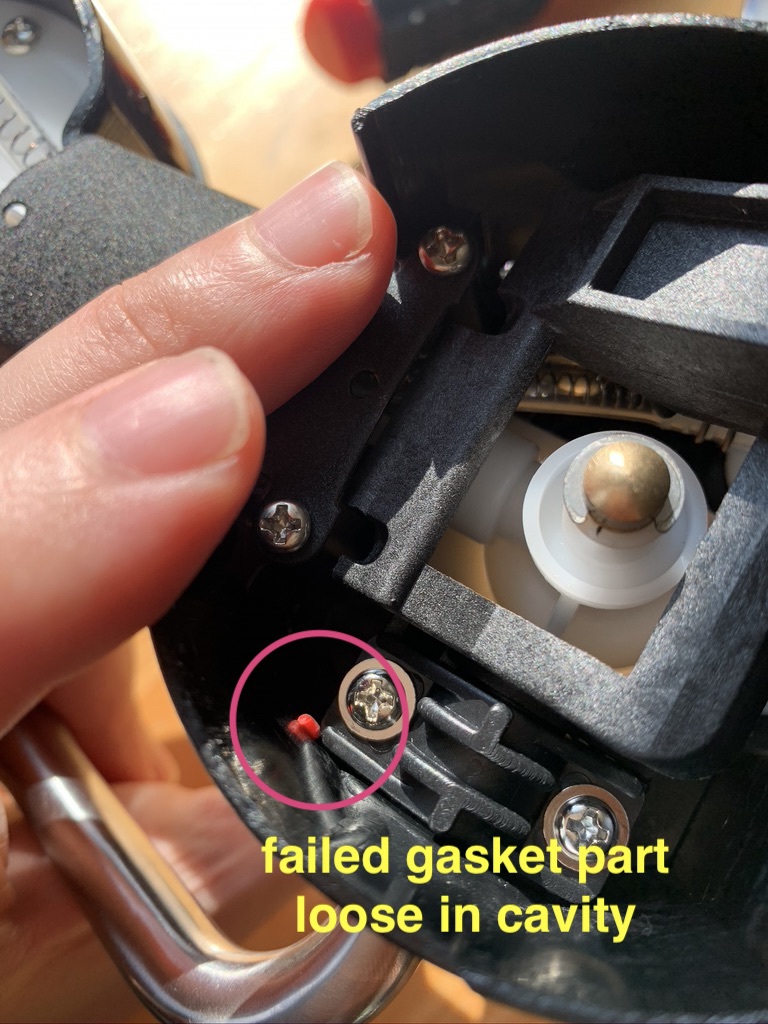
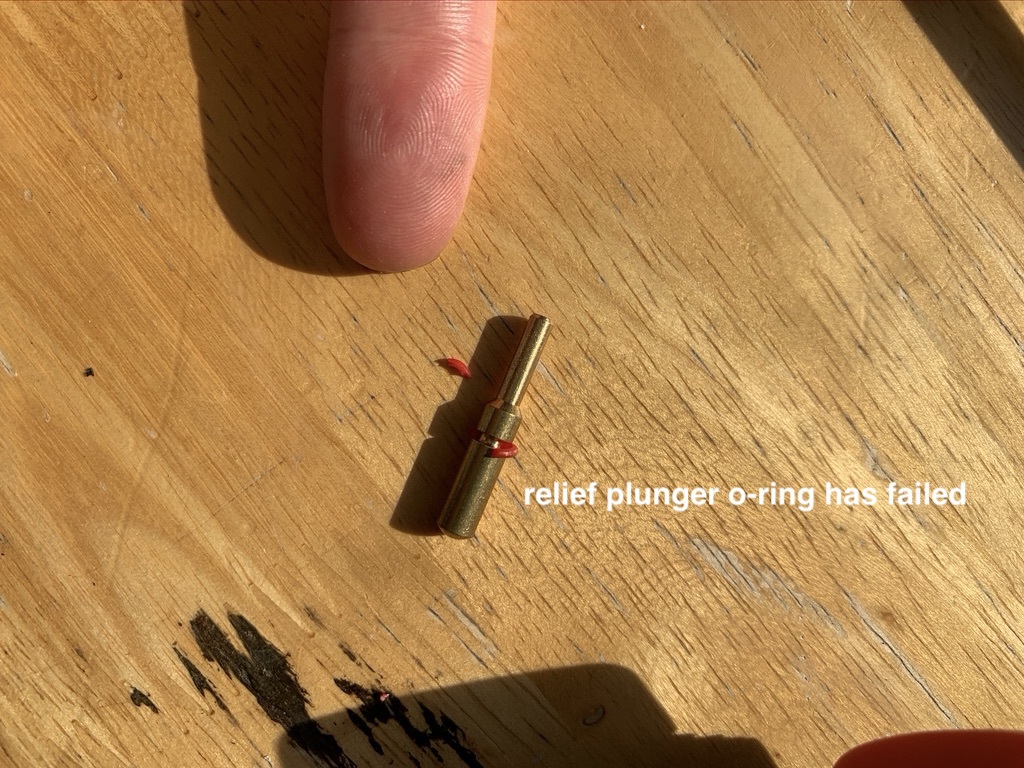
I determined that this piece had broken off of the relief valve plunger. Another piece of o-ring was stuck in the relief plunger, preventing it from operating smoothly:
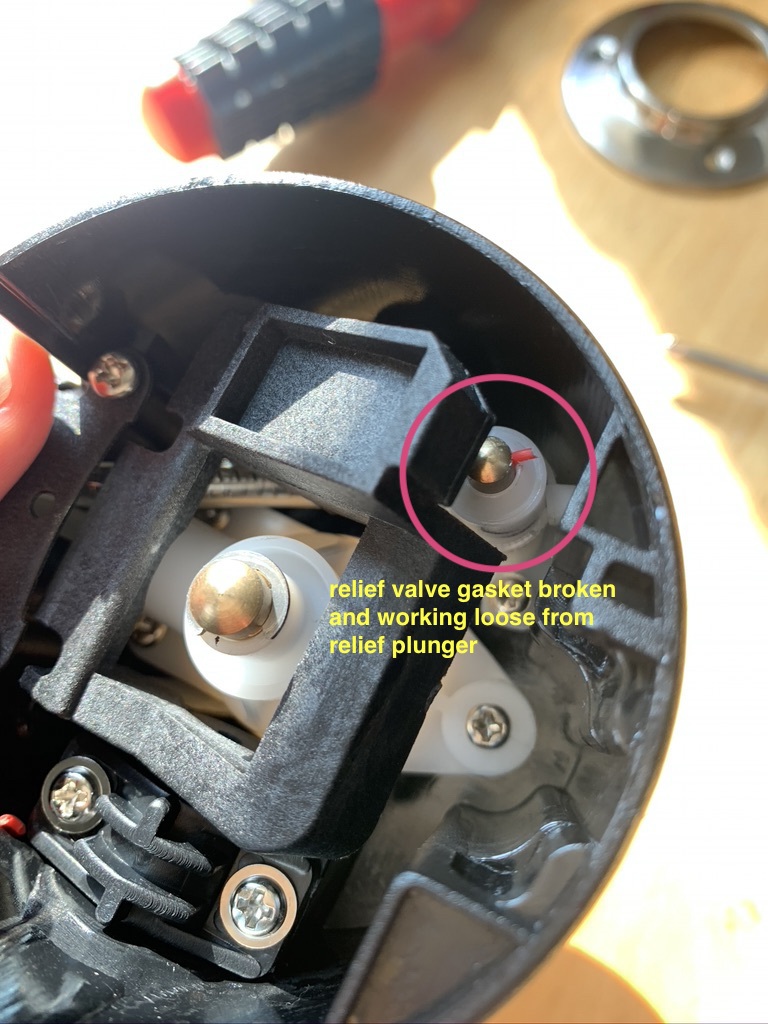
Additional examination found that the plastic part (I will call this the “release rocker”) that depresses the bottle valve and relief valve was possibly not molded correctly. It appears to have had a “short shot” where the mold did not fill completely with plastic during injection:
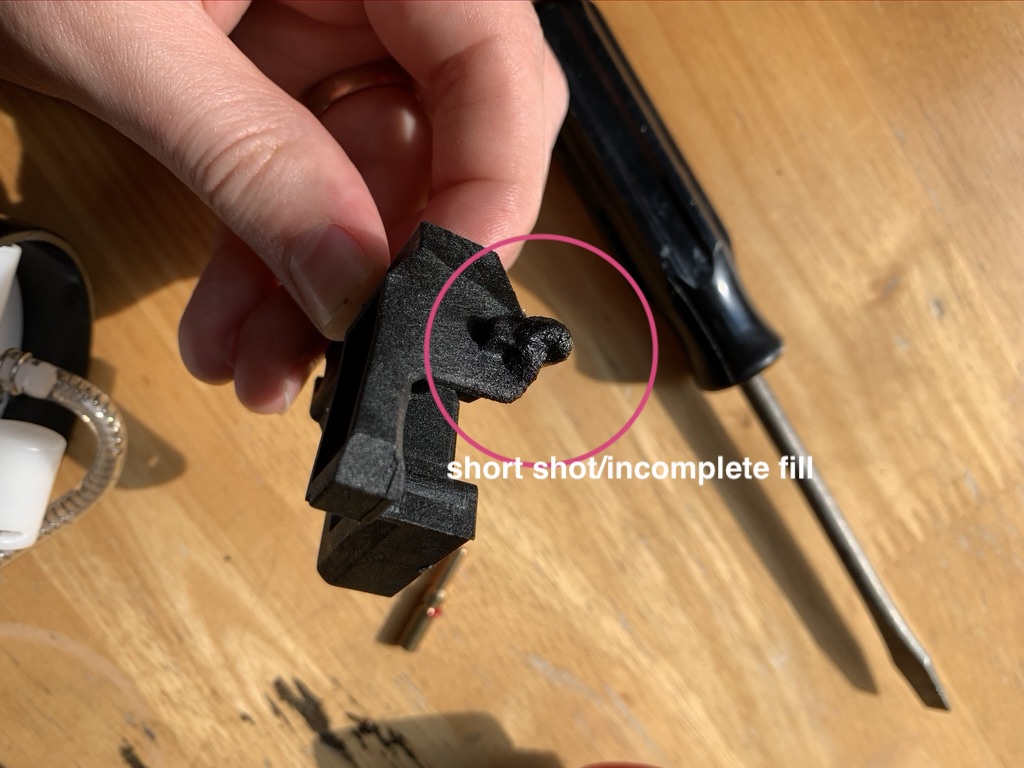
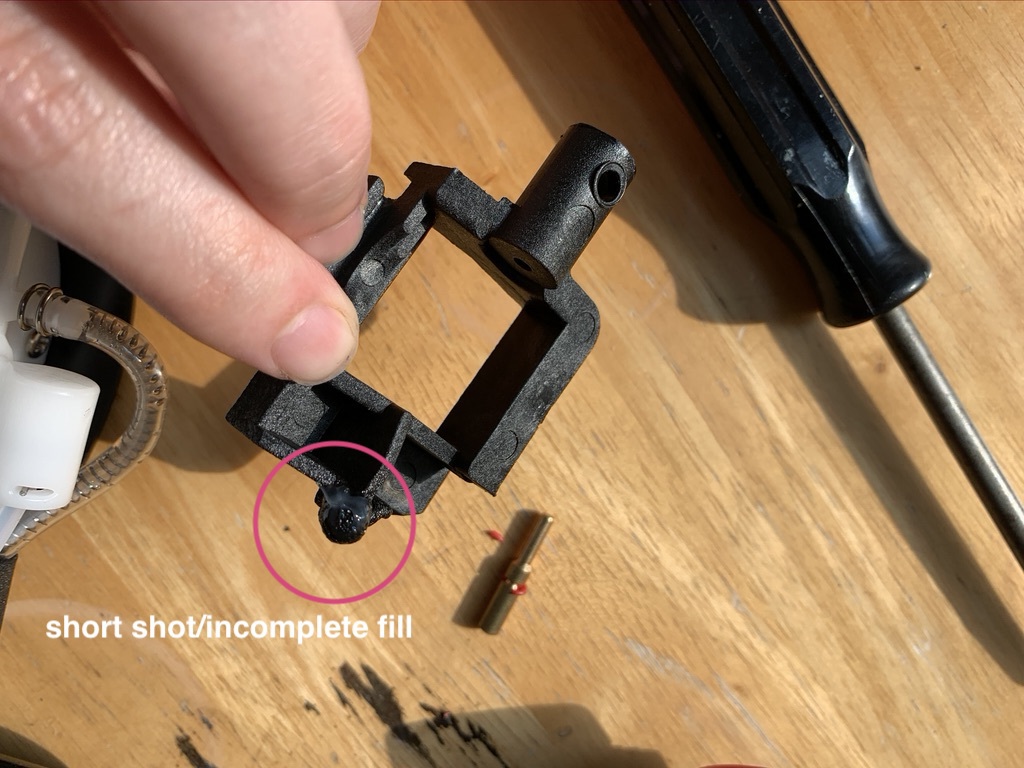
As a result of this, the rocker does not engage with the hole in the side of the cavity correctly. When the silver carbonator lever is pressed, the rocker presses on the relief valve at an angle rather than parallel to the direction of travel. This causes friction and stress on the o-ring, which caused it to fail.
Last updated July 11, 2020.